> ## Documentation Index
> Fetch the complete documentation index at: https://forest-chore-open-api.mintlify.site/llms.txt
> Use this file to discover all available pages before exploring further.
# Zendesk App
> Embed Forest data and actions inside Zendesk tickets and customer profiles.
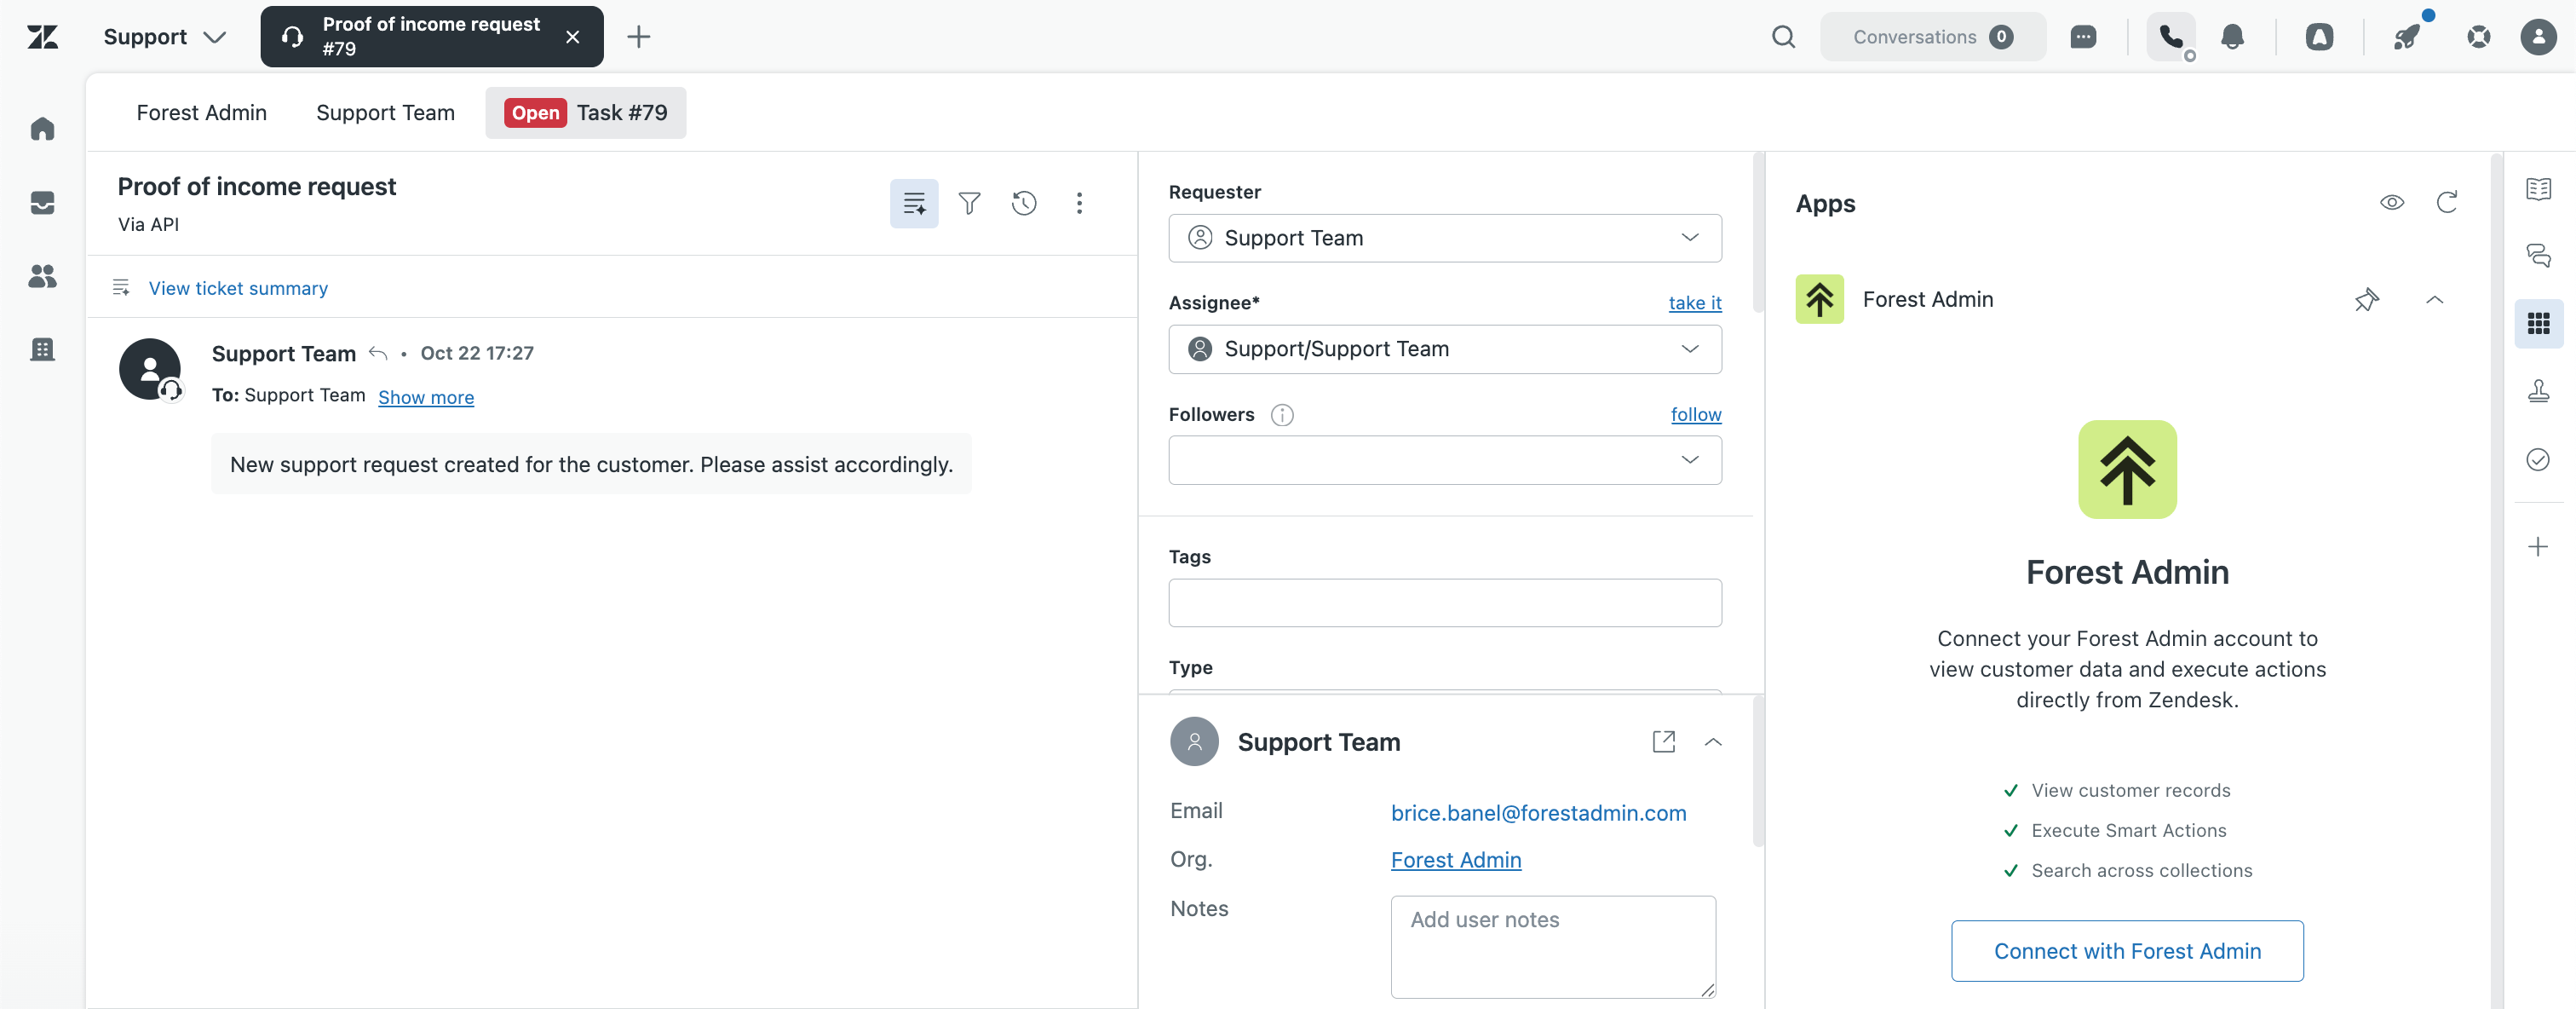
The Forest Zendesk app lets you view and act on your data without leaving Zendesk. Access customer records, trigger actions, and see related data inline in ticket sidebars.
# How it works
The app uses the Forest MCP to surface your data and actions inside Zendesk. Install the app from the Zendesk marketplace, connect it to your Forest project, and configure which collections to display.
# Install Guide
## Pre-requisites
The Forest Zendesk app uses the Forest MCP Server to securely access your Forest data and actions, it is therefore required to have it enabled to proceed with the installation of the Zendesk app.
1. Ensure the Forest MCP Server has been enabled on your Forest project
2. Make a note of your Forest MCP Server URL; you will need it when installing the Zendesk app
If you're not sure whether the Forest MCP Server has been enabled or which URL to access it on, ask your Tech team - they can simply follow [this guide](/product/embed/mcp-server) to set it up.
## Installing the Zendesk app
1. Find the [Forest app in the Zendesk Marketplace](https://www.zendesk.fr/marketplace/apps/support/1231469/forest-admin/?queryID=507953d20df1906a17dbad7341966557)
2. Click on Install
3. Enter your Zendesk URL and click on Next; you will be re-directed to your Zendesk Admin Center
You will need to be an Admin in Zendesk to access the Admin Center.
4. In the Installation form, you will need to provide:
1. The forestAgentUrl: this is the URL of your Forest MCP Server (as mentioned in the Pre-requisites section)
2. The contextField: this is the Zendesk Ticket Field that will be used to match the Ticket Sender with a record from your Forest project data
3. Optionally, you can set restrictions on which Zendesk Roles and Groups to grant access to the Forest app
5. Click on Install
The Forest Zendesk app is now installed! It can now be added to your ticket sidebar, from the Apps tab.
 ## Configuring the Zendesk App
Now that the Forest app has been installed in your Zendesk project, your back-ends will simply need to configure it:
1. In the Forest app, click on "Connect with Forest"
2. Enter your Forest credentials, as you usually would to access your Forest project
3. Select your Organization, Project, Environment, and Team, and click on Save changes
## Configuring the Zendesk App
Now that the Forest app has been installed in your Zendesk project, your back-ends will simply need to configure it:
1. In the Forest app, click on "Connect with Forest"
2. Enter your Forest credentials, as you usually would to access your Forest project
3. Select your Organization, Project, Environment, and Team, and click on Save changes
 It will now automatically analyze the customer request from the ticket, find the relevant Customer, User, or Partner in your Forest data, and recommend relevant Data and Actions to solve the ticket.
