> ## Documentation Index
> Fetch the complete documentation index at: https://forest-chore-open-api.mintlify.site/llms.txt
> Use this file to discover all available pages before exploring further.
# Deploy Your Admin Backend With Aws
> This tutorial is designed to assist you with a step-by-step guide to deploy the admin backend to Amazon Web Services, using EC2, ELB, ACM and Route53.
First, please ensure you have an AWS account. You can sign up [here](https://aws.amazon.com/).
### 1. Launch an EC2 Instance:
* Navigate to the EC2 dashboard and click on `Launch Instance`.
* Choose an Amazon Machine Image (AMI) such as `Amazon Linux 2023 AMI`.
* Select `t2.micro` (part of the AWS Free Tier).
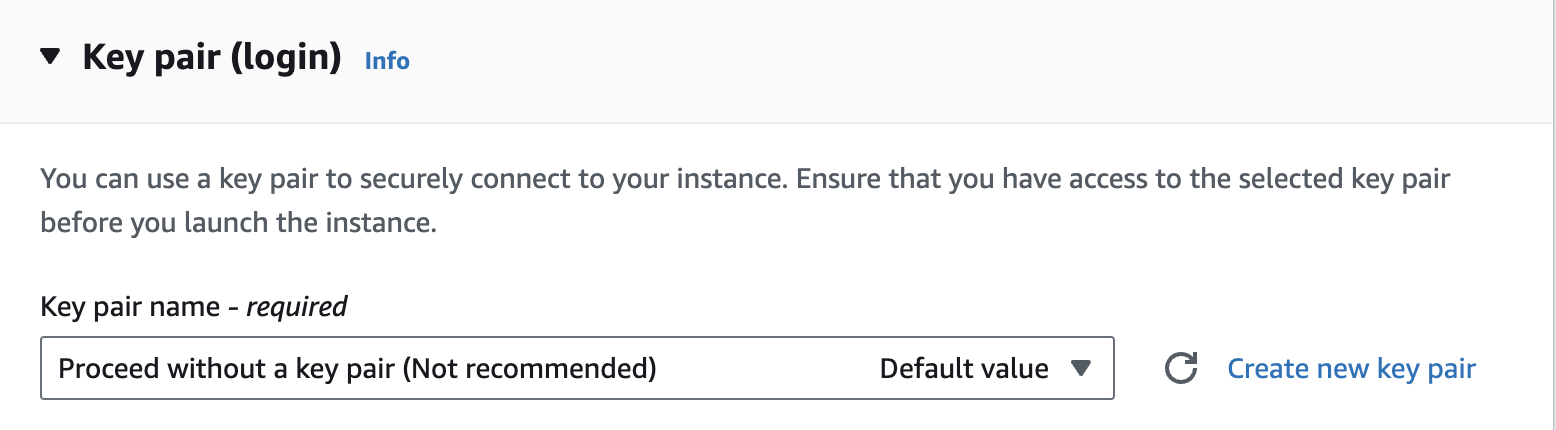
* Select `Proceed without a key pair`
 * On the `Configure Security Group` step, create a new security group:
* allow `ssh traffic`.
* allow `HTTPS traffic`.
* allow `HTTP traffic`.
* On the `Configure Security Group` step, create a new security group:
* allow `ssh traffic`.
* allow `HTTPS traffic`.
* allow `HTTP traffic`.
 * Review and launch the instance.
### 2. Connect to the EC2 instance:
* Navigate to your EC2 instance and click on `Connect`.
* Leave the default parameters and click on `Connect` again.
* Your are now connected to your instance.
### 3. Set up your instance:
The command lines in this step demonstrate how to install a Node.js agent. If you are running Forest on another agent, please adapt the following to your specific stack.
* Update the instance:
```bash theme={null}
sudo yum update -y
```
* Install Git:
```bash theme={null}
sudo yum install git -y
```
* Clone your repo:
```bash theme={null}
git clone your-repo-link
```
* Install Node.js and npm:
```bash theme={null}
sudo yum install npm -y
```
* Navigate to your project directory and install the necessary packages:
```bash theme={null}
cd your-repo-directory
npm install
```
* Set up all the necessary environment variables provided by the Forest environment creation wizard.
* Add the `APPLICATION_PORT` environment variable to be able to contact the server from outside. In this example, we will choose `APPLICATION_PORT=3310`. If you choose another port, please adapt the next steps accordingly.
* Start the agent
```bash theme={null}
npm run start:watch
```
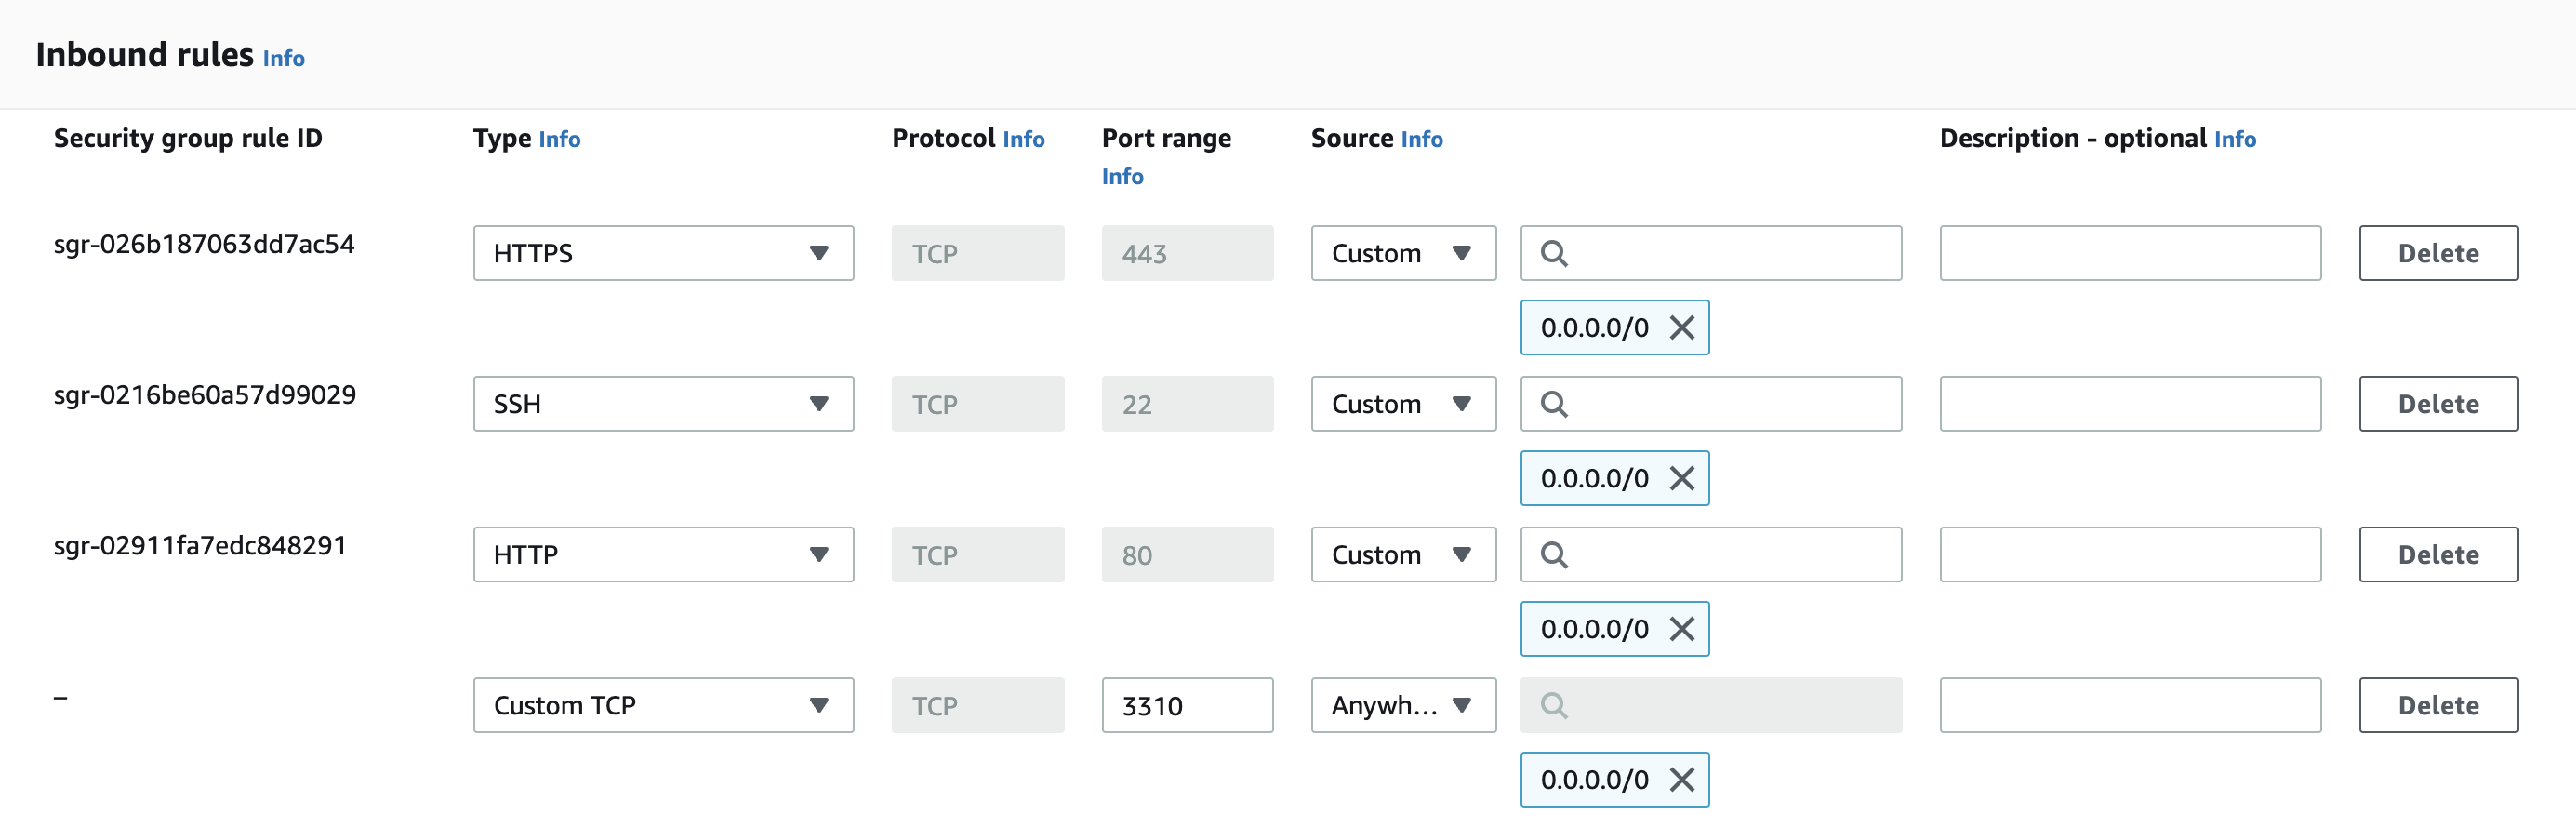
### 4. Adjust security group rules:
* Navigate to your EC2 instance's security group.
* Click on `Edit inbound rules`.
* Add a Custom TCP inbound rule to allow on port `3310`.
* Review and launch the instance.
### 2. Connect to the EC2 instance:
* Navigate to your EC2 instance and click on `Connect`.
* Leave the default parameters and click on `Connect` again.
* Your are now connected to your instance.
### 3. Set up your instance:
The command lines in this step demonstrate how to install a Node.js agent. If you are running Forest on another agent, please adapt the following to your specific stack.
* Update the instance:
```bash theme={null}
sudo yum update -y
```
* Install Git:
```bash theme={null}
sudo yum install git -y
```
* Clone your repo:
```bash theme={null}
git clone your-repo-link
```
* Install Node.js and npm:
```bash theme={null}
sudo yum install npm -y
```
* Navigate to your project directory and install the necessary packages:
```bash theme={null}
cd your-repo-directory
npm install
```
* Set up all the necessary environment variables provided by the Forest environment creation wizard.
* Add the `APPLICATION_PORT` environment variable to be able to contact the server from outside. In this example, we will choose `APPLICATION_PORT=3310`. If you choose another port, please adapt the next steps accordingly.
* Start the agent
```bash theme={null}
npm run start:watch
```
### 4. Adjust security group rules:
* Navigate to your EC2 instance's security group.
* Click on `Edit inbound rules`.
* Add a Custom TCP inbound rule to allow on port `3310`.
 ### 5. Create a target group:
* In the AWS Management Console, navigate to the EC2 service.
* Under "Target Groups", click `Create Target Groups`.
* Ensure target type is instance.
* Choose HTTP to `3310`.
* Ensure VPC is set to the same VPC as your EC2 instance.
* Setup the health checks as set to `/forest`.
* On the next step, select instance and click on `Include as pending below`.
* Finally create the target group.
### 6. Request a certificate using AWS Certificate Manager (ACM):
* Navigate to ACM and click on `Request a certificate`.
* Enter your domain name and validate the domain ownership using DNS validation.
* After viewing the new created certificate, click on `Create records in Route 53`.
* Wait for the certificate to be validated (this can take some time \< 1mn).
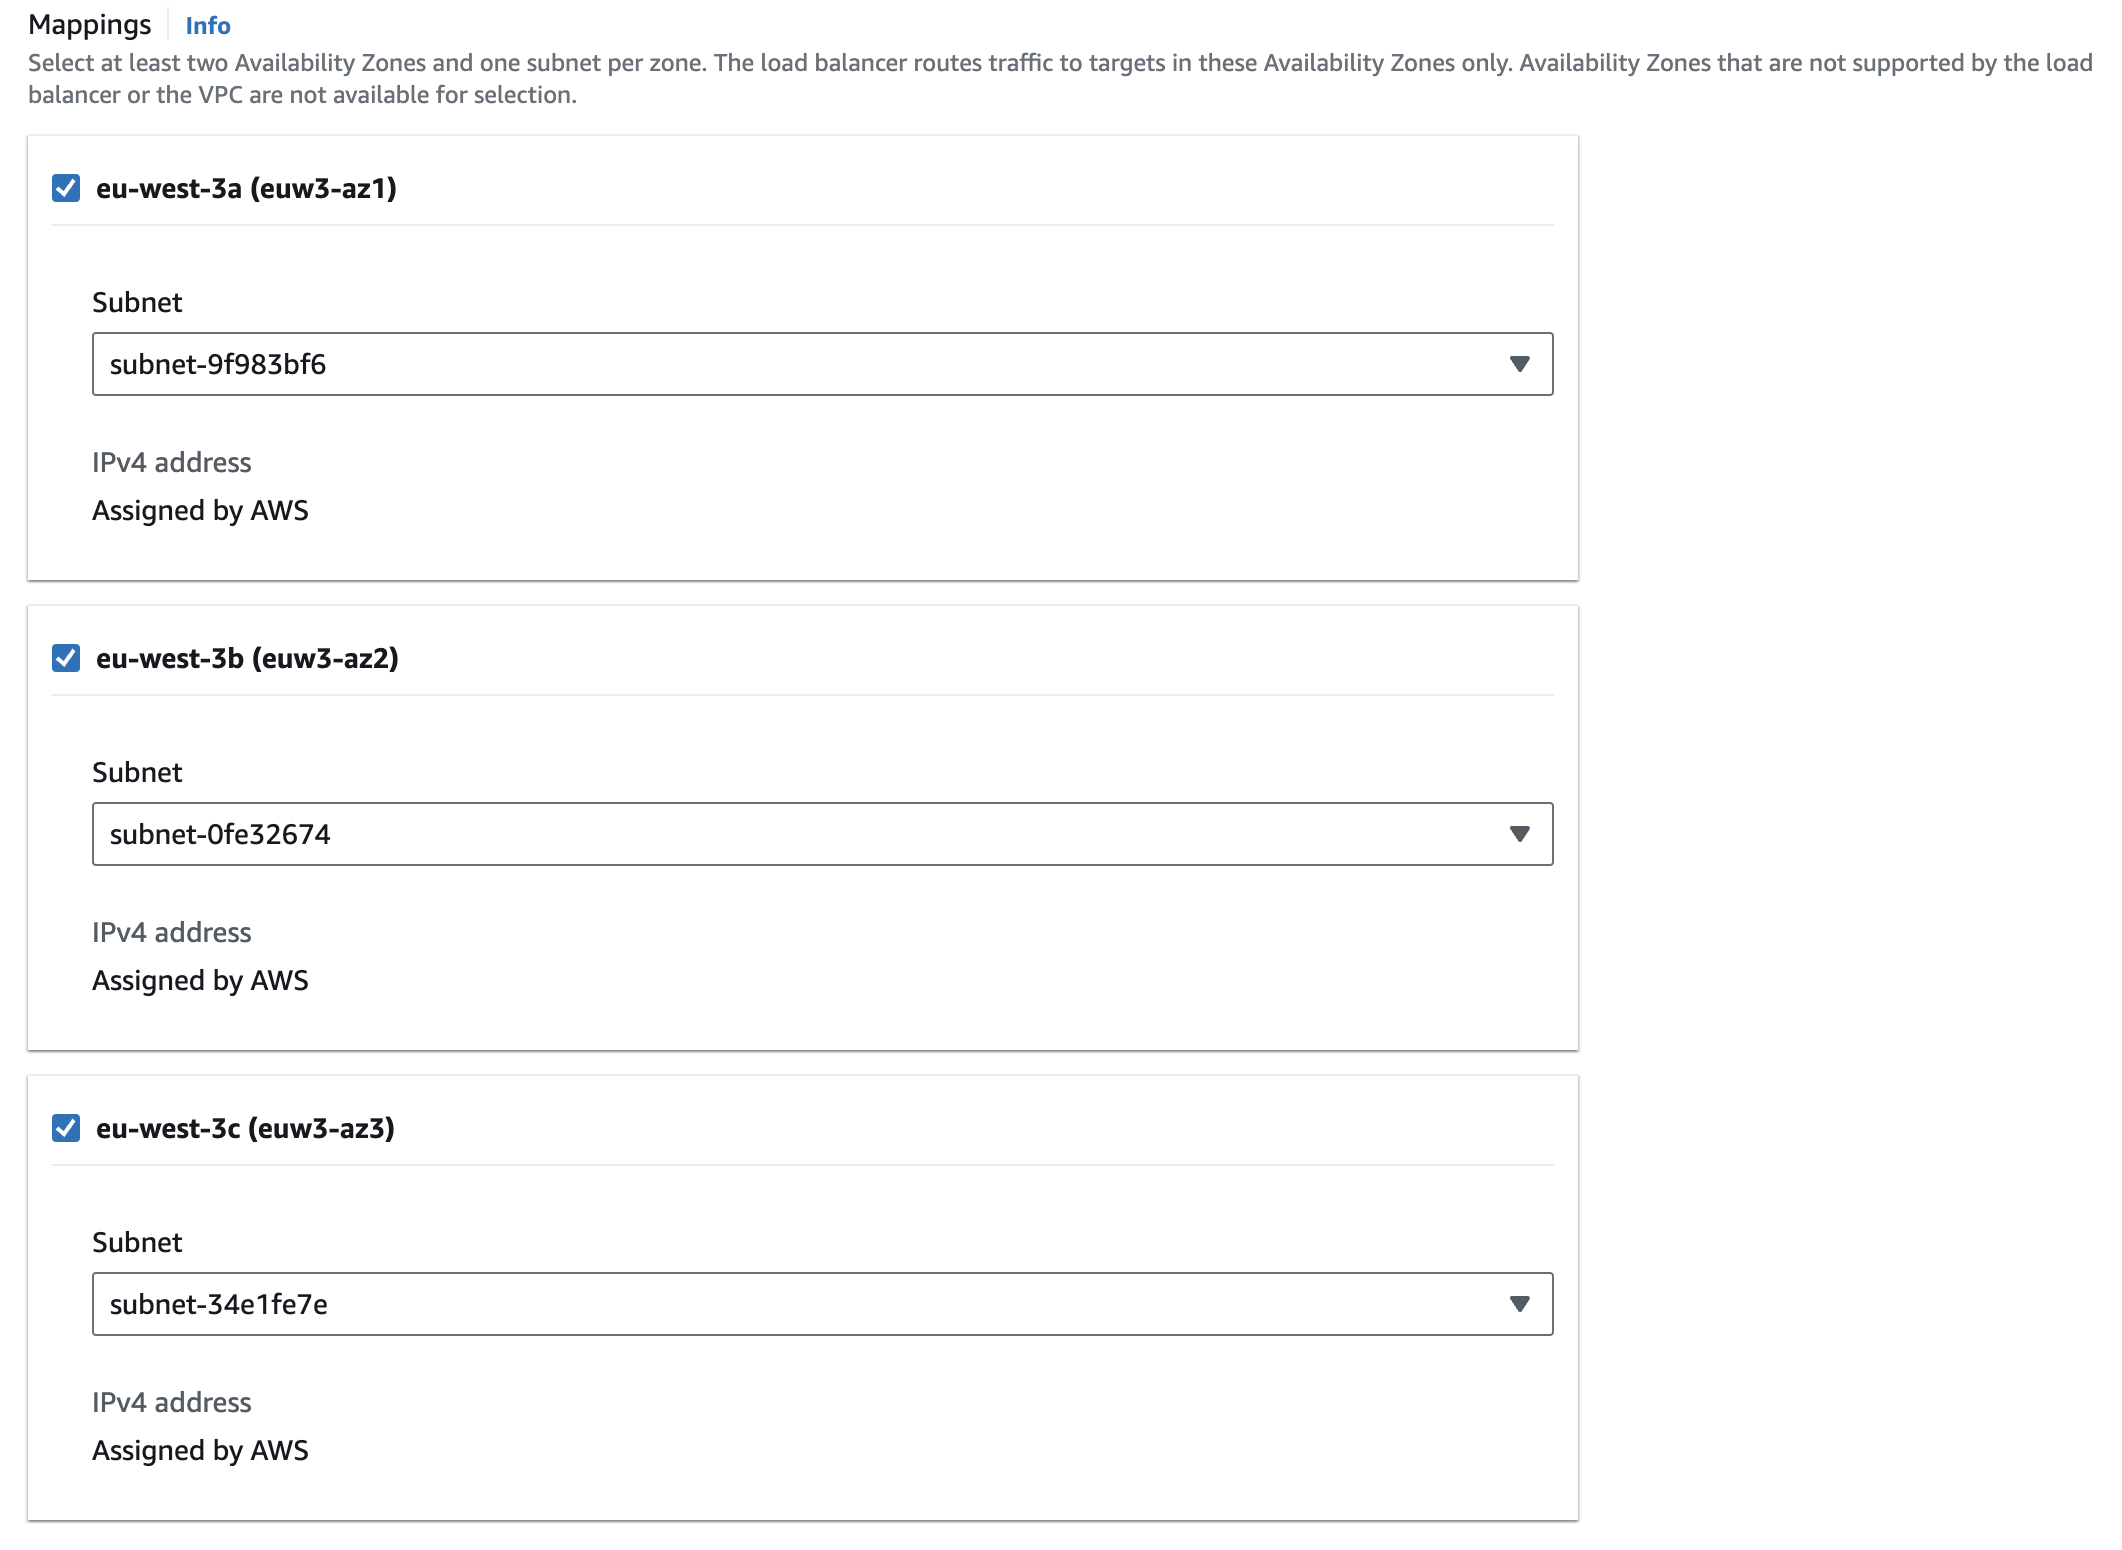
### 7. Set up an Application Load Balancer (ALB):
* In the AWS Management Console, navigate to the EC2 service.
* Under "Load Balancers", click `Create Load Balancer`.
* Choose `Application Load Balancer` and follow the setup.
* Ensure the ALB is set to the same VPC as your EC2 instance.
* Select all regions.
### 5. Create a target group:
* In the AWS Management Console, navigate to the EC2 service.
* Under "Target Groups", click `Create Target Groups`.
* Ensure target type is instance.
* Choose HTTP to `3310`.
* Ensure VPC is set to the same VPC as your EC2 instance.
* Setup the health checks as set to `/forest`.
* On the next step, select instance and click on `Include as pending below`.
* Finally create the target group.
### 6. Request a certificate using AWS Certificate Manager (ACM):
* Navigate to ACM and click on `Request a certificate`.
* Enter your domain name and validate the domain ownership using DNS validation.
* After viewing the new created certificate, click on `Create records in Route 53`.
* Wait for the certificate to be validated (this can take some time \< 1mn).
### 7. Set up an Application Load Balancer (ALB):
* In the AWS Management Console, navigate to the EC2 service.
* Under "Load Balancers", click `Create Load Balancer`.
* Choose `Application Load Balancer` and follow the setup.
* Ensure the ALB is set to the same VPC as your EC2 instance.
* Select all regions.
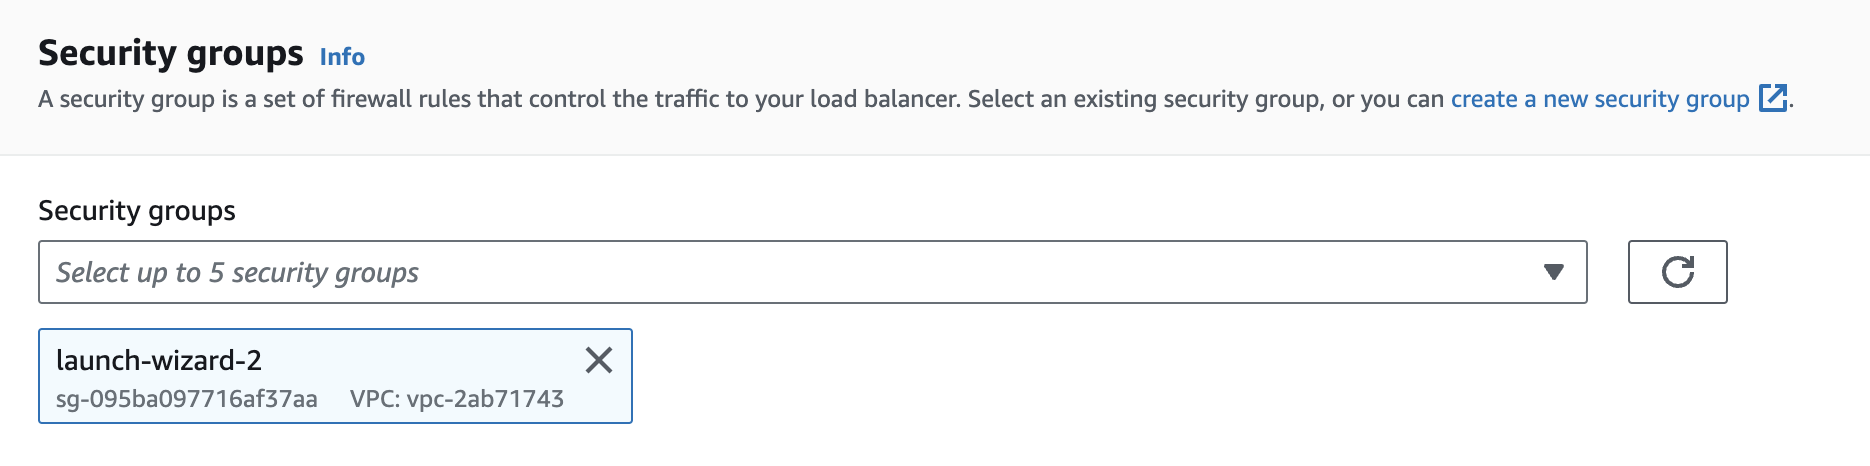
 * Remove default security group and select the group associated to the newly created instance.
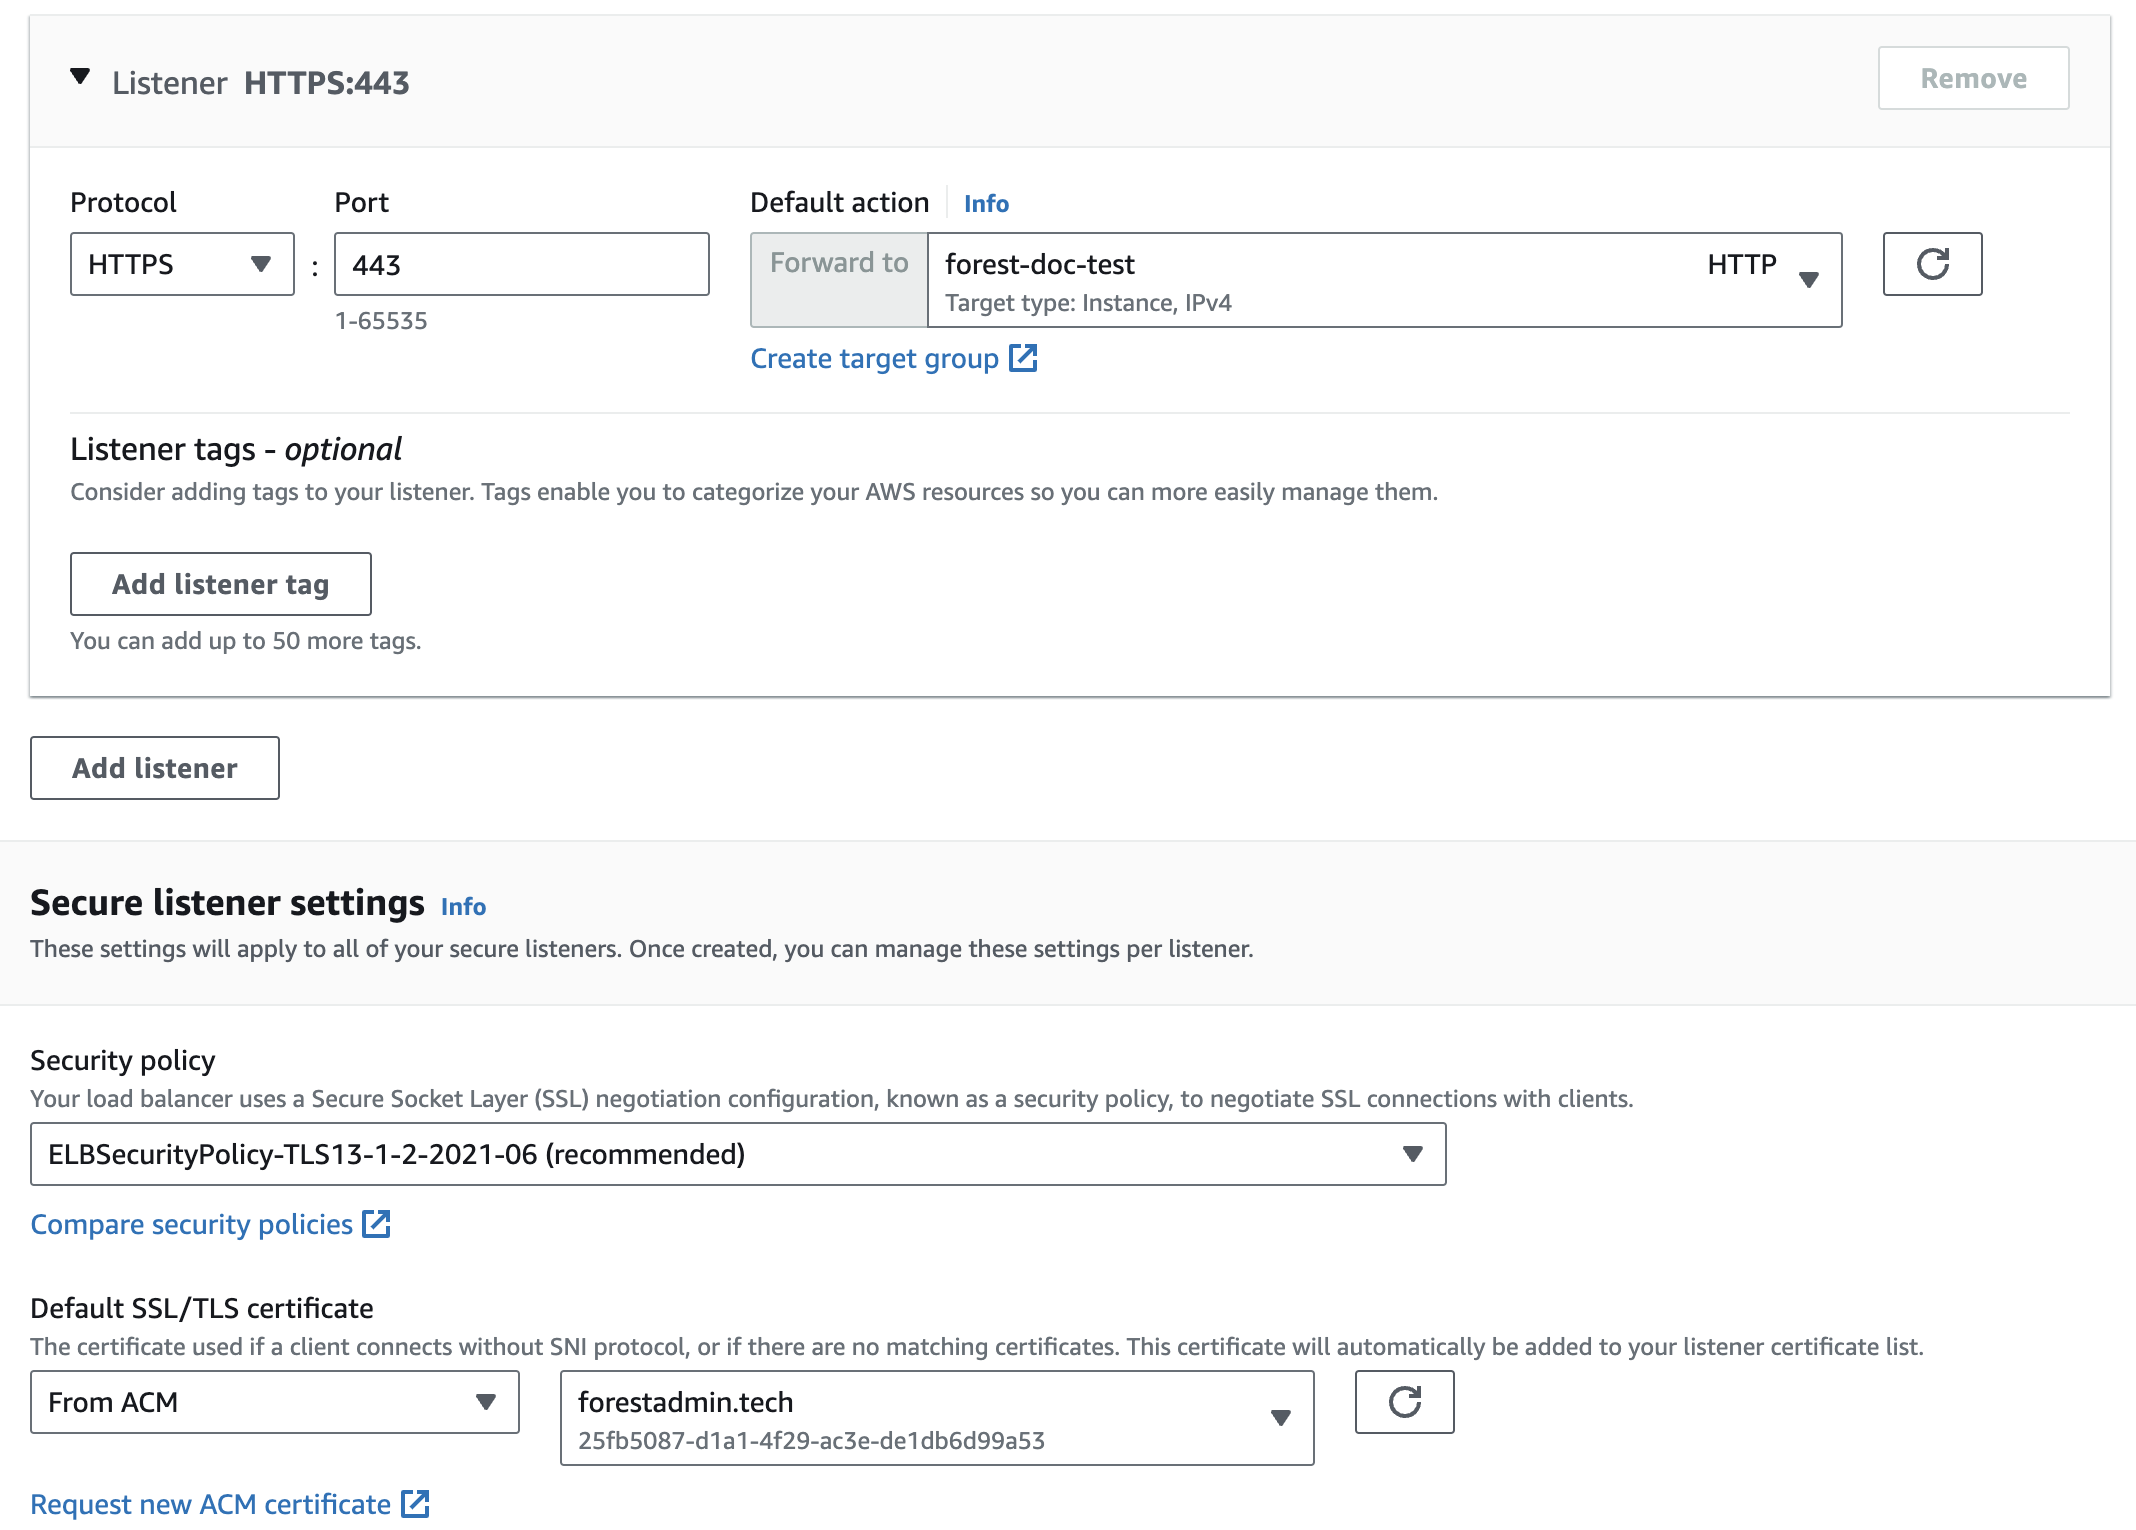
 * Add an HTTPS listener and choose previously created target group and certificate.
 * After creating the ALB copy the `DNS name`.
### 8. Add CNAME to Route53:
* Navigate to Route53 and choose your hosted zone (domain).
* Create a `CNAME` record with the domain name filled in the certificate and the `DNS name` of the ALB.
### 9. Finalize:
Check your domain. You should be able to access your Forest panel environment hosted on AWS. 🎉
This is a basic setup, and there are many optimizations and security enhancements (like using RDS, tightening security groups, etc.) that can be done for a production-ready deployment. Please refer to the [AWS documentation](https://docs.aws.amazon.com/index.html) to go deeper.
* After creating the ALB copy the `DNS name`.
### 8. Add CNAME to Route53:
* Navigate to Route53 and choose your hosted zone (domain).
* Create a `CNAME` record with the domain name filled in the certificate and the `DNS name` of the ALB.
### 9. Finalize:
Check your domain. You should be able to access your Forest panel environment hosted on AWS. 🎉
This is a basic setup, and there are many optimizations and security enhancements (like using RDS, tightening security groups, etc.) that can be done for a production-ready deployment. Please refer to the [AWS documentation](https://docs.aws.amazon.com/index.html) to go deeper.